Sunday, December 13, 2009

A Day at Winnipeg Harvest


I am truly blessed to work with some incredible students.  This year the Grade 8 team decided to take groups of students to a local food agency.  Winnipeg Harvest supports food banks, soup kitchens and many other organizations throughout Winnipeg. Harvest feeds over 47 000 Winnipegers a week.  This in a city with a population of only 800 000 people. 


They are located only a few blocks away from the school. 

3 teams of four students and a teacher supervisor went to Harvest for three half day shifts.  The first day saw the students work on creating emergency kits for harvest.  These kits have one can of protein, one can of vegetables, soup and a grain (pasta or rice).  These kits are then placed into a larger bag with 7 other kits.  These larger bags are then put on pallets to be shipped around the city.
 
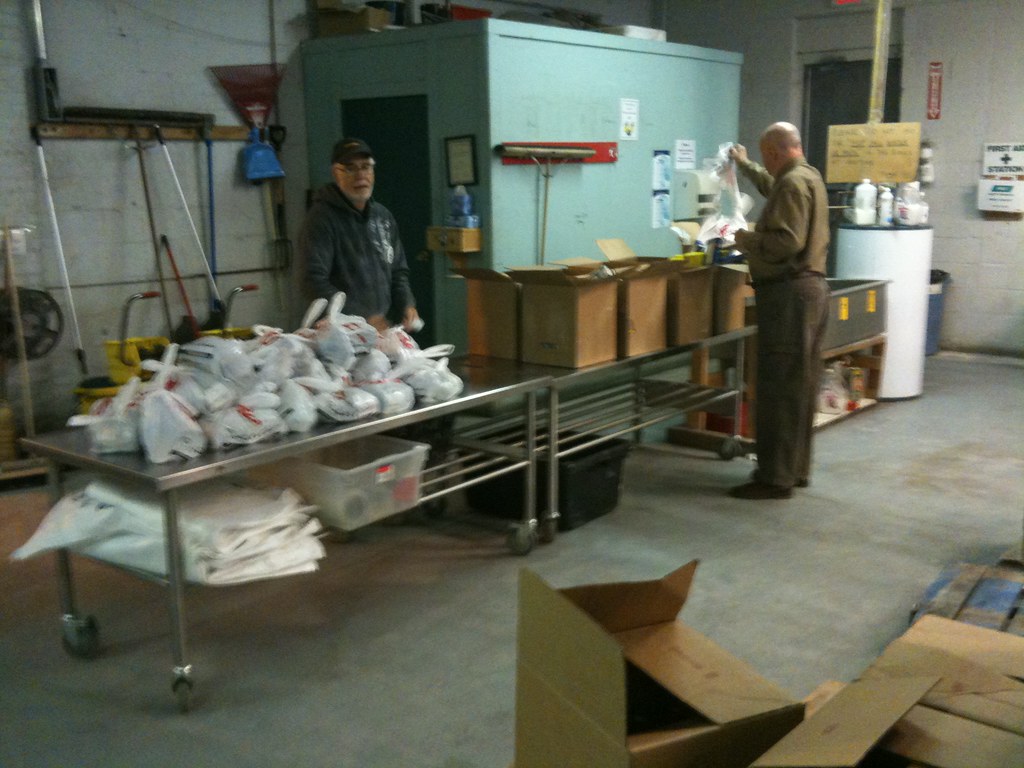
Here are the students working on that first day.  They packed enough kits to fill 1 and a half pallets. Sadly we would have done more but we ran out of protein and could not finish the task.


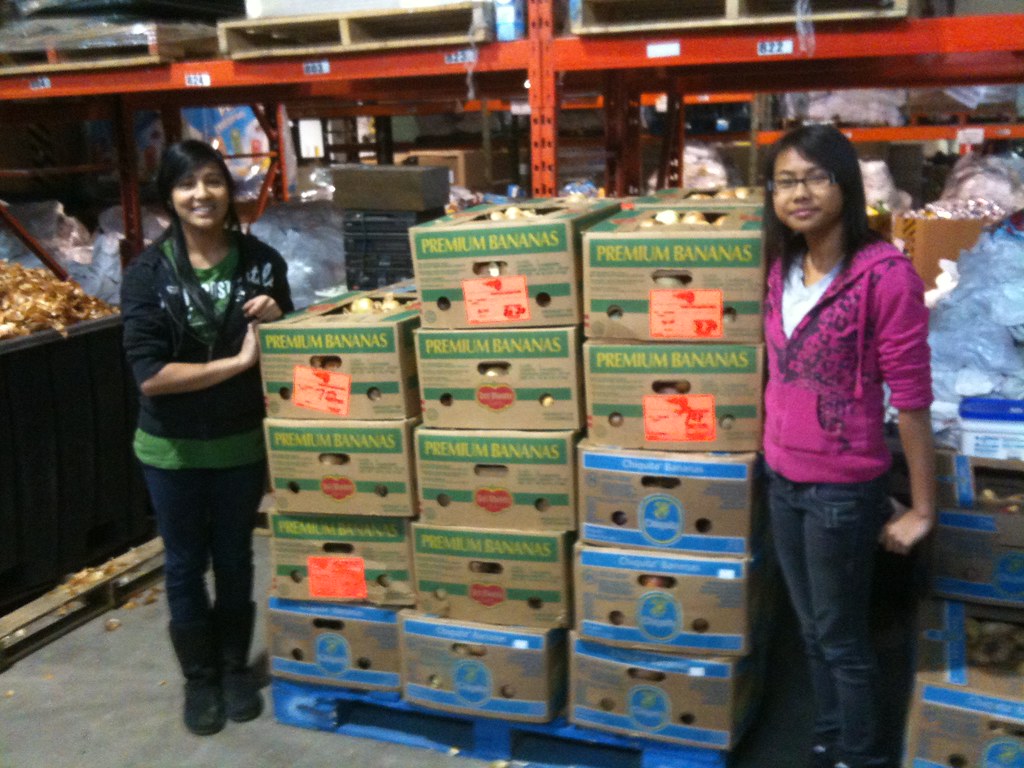
The next 2 crews of students were on onion and potato detail.  Harvest receives produce from local Hutterite  Colonies and Peak of the Market.  These items come into Harvest in large pallets.  They need to be repacked into smaller boxes (banana boxes each weighing 60 lbs).  It was fun to go through the large pallets and find mushy onions and potatoes.  We even found an Alien Onion and a Heart shaped potato.  In the two days the students repacked 4000 lbs of potatoes and onions.


What impressed me the most was when we were about to leave.  Onion skins on the floor and a bit of a mess to clean up.  No one asked but the kids took it upon themselves to clean up the area for the next crew.
Since the trips to Harvest students have been asking if they can go and help.  I do not see any reason to say no.  After all Harvest is just up the street.  Kids can be amazing if you let them be.  Give them a chance and inspire them to become activists and see their world as something more than just a school experience.

Here is the students take on the experience.

Getting a Square Idea.

Three heads are better than one.  I have a brilliant teacher candidate this term.  She really knows her stuff.  I also have a great mentor at this school that always tells me the analogy of slow learning (drawing a turtle on the board) to make me remember the need to go slow when necessary.

Together all three of us yesterday came up with a great activity to get kids to understand the idea of squares.  More specifically.... Can you make a square out of 2 squares tiles, 3 squares tiles etc.  What we came up with was a stroke of genius.

Supplies you will need for this activity are a sheep of cm grid paper and a piece of coloured paper.  On the grid paper you need to cut out 4 10 by 10 squares.  My paper only goes 18 across.  You will get one 10 by to and one 8 by 10 rectangle.  Take a 2 by 10 rectangle to complete the 8 by 10 into a 10 by 10 square.

When we are all done the students have a great representation of how to create the squares of 1, 2, 3, and 4.
Step 1
Glue one 10 by 10 square onto the large foldable sheet of paper.  Get the students to understand the difference between the 100 squares and that this represents 1 whole square.
Once this has been done complete the chart at the top of your paper.  Show the side measure of the square and how 1 x 1 is 1.


You now have to use your second square.  Get the students to figure out the largest square you can make with the second square that has 100 smaller squares in it.  Most students will start to see the pattern of 1.1 x 1.1 is 1.21(11 x 11 =121) and so on.  When you are done this part of the foldable your page should look like this.


The largest square is using 196 smaller squares or 14 x 14.  This is really 1.4 x 1.4 which is 1.96.  Complete the chart like the previous one and have all squares up to 1.4 on the chart. 

Continue with the third square.  If students have not coloured them yet it might be a good idea.  Colour enhances the foldable showing the different squares


You should have completed the blue part of the foldable now.  This means that you have made the largest square possible with 3 squares.  1.7 x 1.7 (17 x 17).

Complete the chart to show that you now have 3 new squares possible.

You now are ready for the last square.  This is the 4th square.  You need to get the students to understand that they now have a perfect square.  2 x 2 = 4. To achieve this they will use the remaining square and all the leftover pieces from the last 2 squares.  Adding 111 small squares will give you a square with the area of 400 little squares or 4 larger squares. 

 Finish the chart to complete it up to 2 x 2 = 4.


This is a great conceptual idea for showing Squares and Square Roots.

Hope you enjoyed the lesson.  Now on to the next post.